

Halloween is getting closer which means it’s time to start decorating! I’ve been trying to come up with ideas for things to make with supplies I already have as money is tight right now. Luckily black card stock and velum are something I always have on had and I love to create luminaries! I hope you like my Free Paper Jack O’Lantern Luminary SVG for Halloween design and decide to make one (or a few) yourself.
This time around I wanted to make a smaller lantern that would all fit on one piece of 12 x 12 card stock and also close on the bottom and top – all you need is a little glue for one side. I think this would make a cute gift – you could fill it with candy too!
Wouldn’t this be a cute way to give out candy on Halloween?
Want to make a Free Paper Jack O’Lantern Luminary? Here’s how!
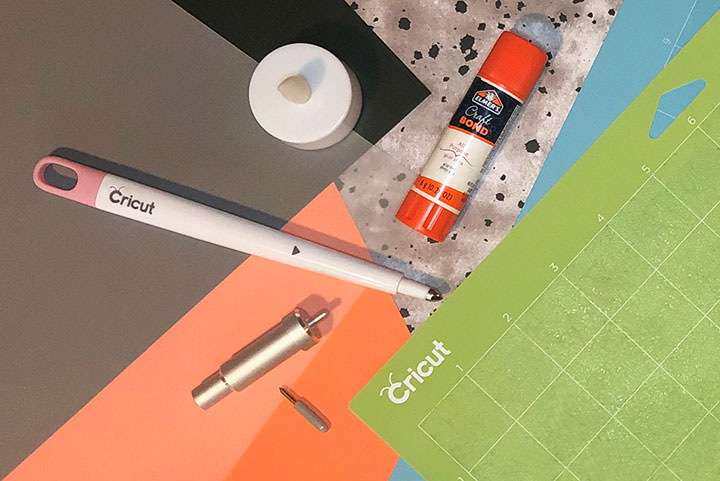
Materials
- 12 x 12 Black Card Stock
- 8.5” x 11” Vellum
- Glue or Glue Stick
- Battery Operated Tea Light
- Cutting Machine such as Cricut Air 2 or Cricut Maker
- Standard Grip Mat
- Fine Point Blade
- Scoring Stylus or Wheel
- Light Grip Mat for Vellum (Optional) – don’t buy one just for this, cut by hand
- Orange Card Stock (Optional) – for variation 3
- Small Mounting Squares (Optional) – for variations 2 & 3
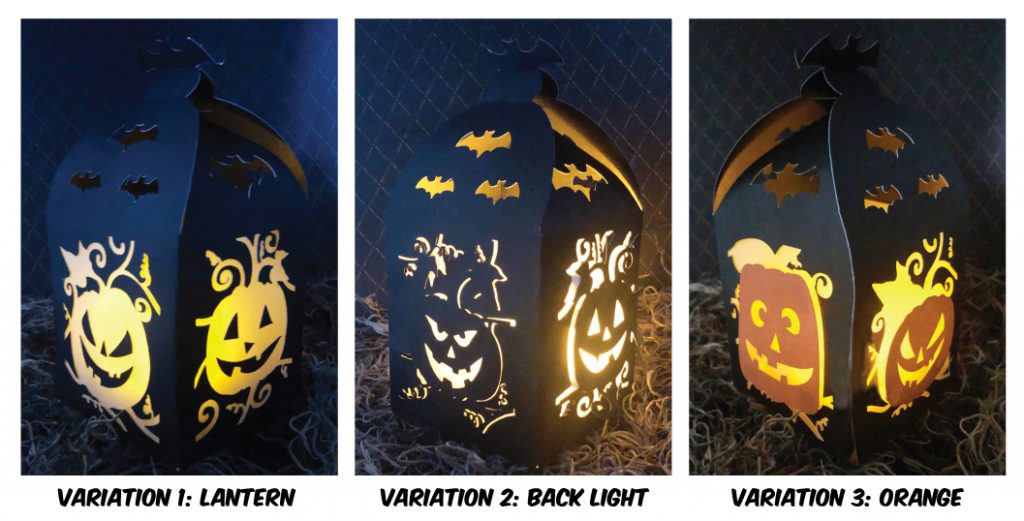
Pick Your Poison
I made three different versions for this design and I think they all look pretty cute so it’s totally up to you which version to make. My personal favorite is the back-lit version, it’s extra spooky. 👻
Paper Jack O Lantern Luminary Instructions
Step 1: Download and Cut
Download my Free Paper Jack O’Lantern Luminary SVG for Halloween from the library. All you need is the password! Don’t have it? No Problem! Simply sign up for my Eek-mail list for instant access!
Import it into Cricut Design Space. Remember to change the scoring lines to score and attach them to the cut layers so everything comes out together properly.
Black Layer – Black Card Stock, Standard Grip Mat, Fine Point Blade, Scoring Stylus or Wheel, Set to Card Stock
Gray Layer – Vellum Paper, Light Grip Mat, Fine Point Blade, Scoring Stylus or Wheel, Set to Vellum. Please note: if you do not have a light grip mat do not go out and buy one just for this – it’s a simple rectangle you can cut out by hand.
Orange Layer (Version 3 Only) – Orange Card Stock, Standard Grip Mat, Fine Point Blade, Set to Card Stock

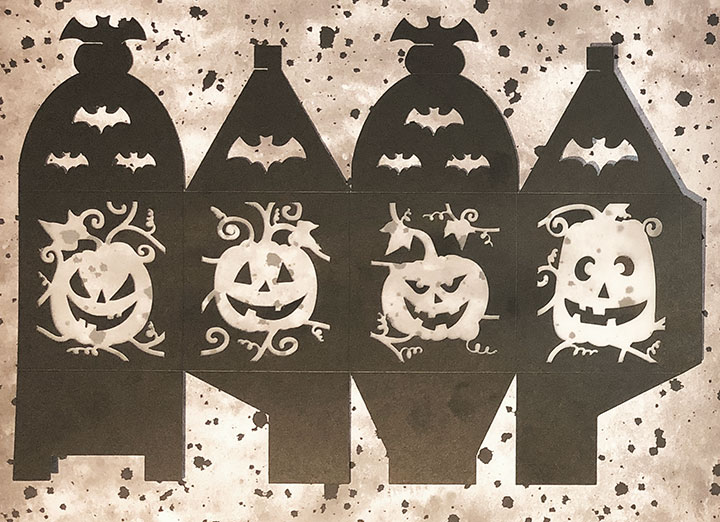
Step 2: Assemble
Remove cut pieces from mat and reserve pieces shown above for your chosen variation(s). Tip for variation 1: After removing the largest lantern piece and discarding unneeded pieces, use transfer tape or clear contact paper to keep pieces in proper locations.
Using glue, attach the vellum to the backside of the black card stock. Allow to dry.
Variation 1: Using glue, attach reserved face pieces to the exposed vellum. Allow to dry.
Variation 2: Using small mounting squares, attach reserved pieces to exposed vellum.
Variation 3: Using small mounting squares, attach orange pumpkins to exposed vellum.

Step 3: Fold & Close
Fold the along the crease lines.
Using glue, attach the tab to the end of the lantern. Allow to dry.
To close bottom: First, fold down flap with rectangle cutout. Next, fold down both side flaps. Finally, fold down remaining flap and insert it into the slot created by the other flaps.
Turn on your battery operated tea light and place it inside the lantern.
To close top: To begin, attach the flaps with single bats to each other – both flaps should point down into the lantern. Second, attach the larger flaps at the base of the ball and again at the base of the bat to secure.
You will be able to open the lantern from the top or the bottom, depending on your preference, to turn off/on and remove the tea light.

Enjoy & Display!
I truly hope that you enjoy your little lanterns! Make sure to sign up for our emails for more Cricut Halloween projects. Is there something else you want to make? Drop your suggestions in the comments below and I will see what I can do!
Very cute. You are very generous to share.
Thank you for the cute pumpkin luminary !