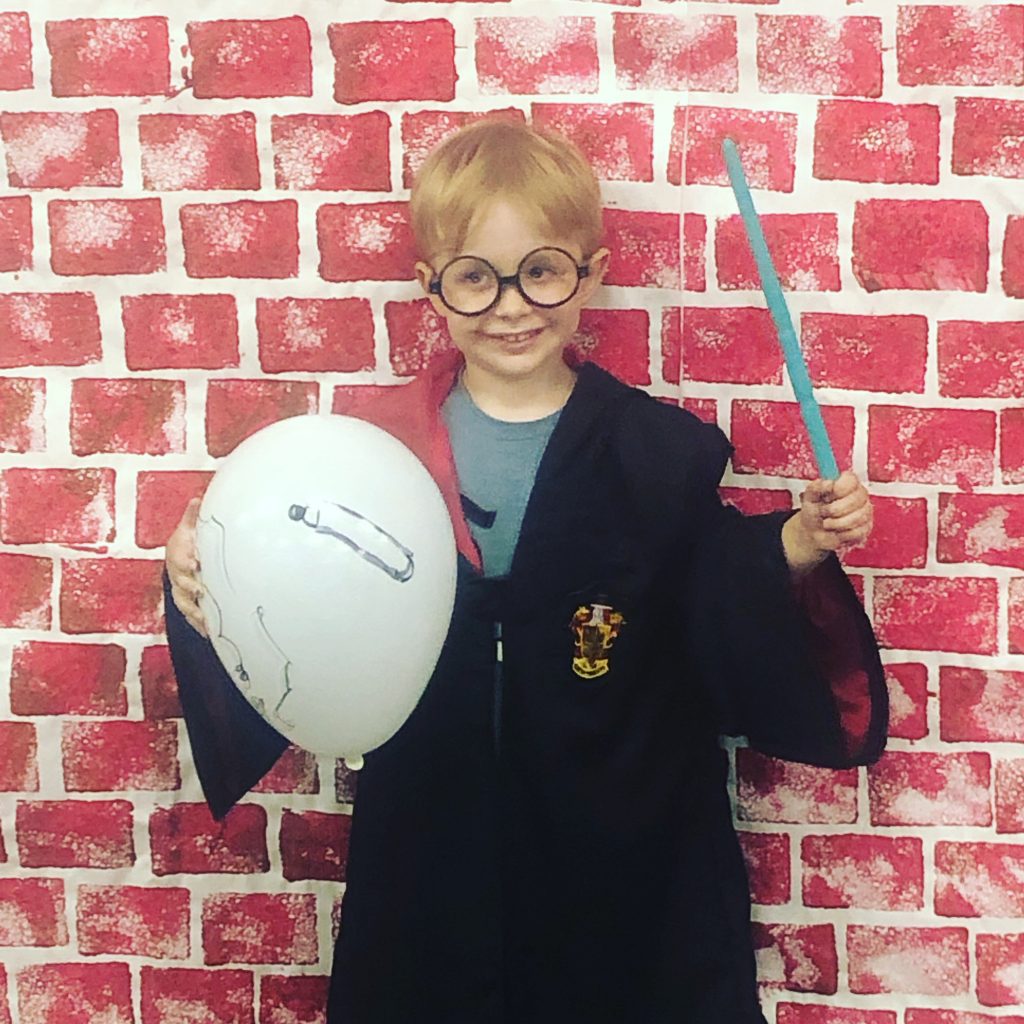
A couple of weeks ago my son and I went to our local library for a celebration of Harry Potter’s birthday. He’s 39, in case you were wondering. We’re both fans of dressing up and being extra so I ordered him a Harry Potter costume, complete with glasses, and I threw something “witchy” together. To complete the look we decided to make our own wands. Because I am the best, here is my DYI Wizard Wand Tutorial so you can make one too!

My son has recently starting becoming interested in “the boy who lived” as we have been playing “Wizards Unite” together. He’s constantly asking me if we can look for magical creatures anytime we are out of the house. We’re level 15 Magizoologists *insert smug face* (add us 8234 9864 0631).

Materials
- Dowel Rod – we used 1/2”
- Hot Glue & Hot Glue Gun
- Sand Paper
- Saw or a way to cut the dowel rod (if you get a long one)
- Paint – I used gold and black to make the wand shown
- Paint Brushes
Tutorial
Step 1
If needed, Cut the rod to your desired length. We made ours about 12” long.

Step 2
With a sander or sand paper, round the ends of the wand and create a taper to one end. You can add some texture to the wood as well.

Step 3
Here’s were you start to make it yours! Use the hot glue to add designs to the shaft of your wand. Make whatever you want. Research the wands used in the film – everyone one is different!


Step 4
Add a base coat of paint. I opted for gold, my son chose what he calls “limey blue.” Paint all over the wood and the glue.


Step 5
Add some contrasting paint to bring out the details. I simply added black to the gold and painted around the glue spots.

Step 6
Let it dry! We didn’t add any sealer, but you certainly could.

Pair with your house colors (yes I’m Gryffindor🦁) and you are all set for your wizard or witch costume! Our Witch’s Cauldron would make a great additional prop!

Love your wand! I totally want to make one now!
Thanks! It was super easy to make and way cheaper than any of the ones I found online 🙂