
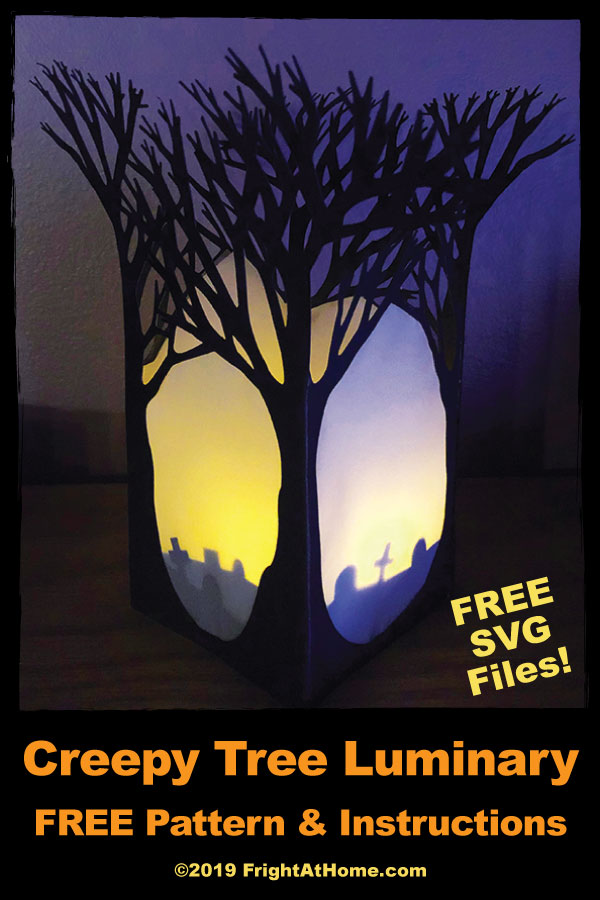
I’m so excited about this project – a paper craft luminary for Halloween!
I got my first Cricut last year right around Halloween because I wanted to host a Halloween craft party – we made pumpkin dioramas with black paper houses. The party was a smash hit and then my brand new Cricut sat dormant for months, collecting dust.
There are so many cool things you can make with a Cricut and there are thousands of sites who will supply files and instructions for free. Though I did use an existing design for the pumpkin dioramas because I was new to the machine, I did want to predominately make my own designs.
I’ve been an artist all my life and a professional graphic designer for over 15 years now, so making my own svg designs is a great way for me to stretch my creative legs. My first ever solo design was my fish bowl decals for the Loch Ness Potent Punch and it was a blast making it!
I have a bunch of paper left from the Halloween craft party, so I wanted to come up with a paper design next. I had so much fun coming up with this design and figuring out the engineering aspect of putting it together (decidedly simple, but remember I’m new to this!) I think you should expect some more paper crafts coming up in the near future – I have a lot of paper laying around.
Supplies
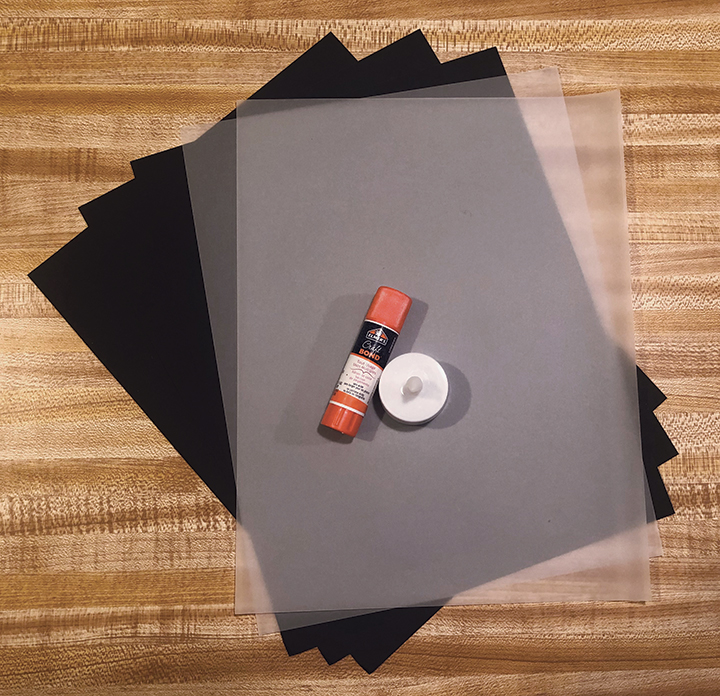
- 3 Pieces of 8.5″ x 11″ black card stock
- 2 Pieces of 8.5″ x 11″ white vellum
- Battery operated tea light
- Glue (I used a glue stick, but any glue will do)
- A cutting machine, such as a Cricut -or- an X-acto Knife
- Optional: Cricut Scoring Stylus this will make folding easier, but is not required as it’s only a few simple folds.
- If using a Cricut you will need light (vellum) and standard (card stock) mats. If you only have standard, the velum can easily be cut by hand, no need to buy a new mat.
Instructions
1.Download my exclusive pattern >HERE<< (opens in a new tab)">>>HERE<<. Use the svg for cutting machines and the pdf if you are cutting by hand.
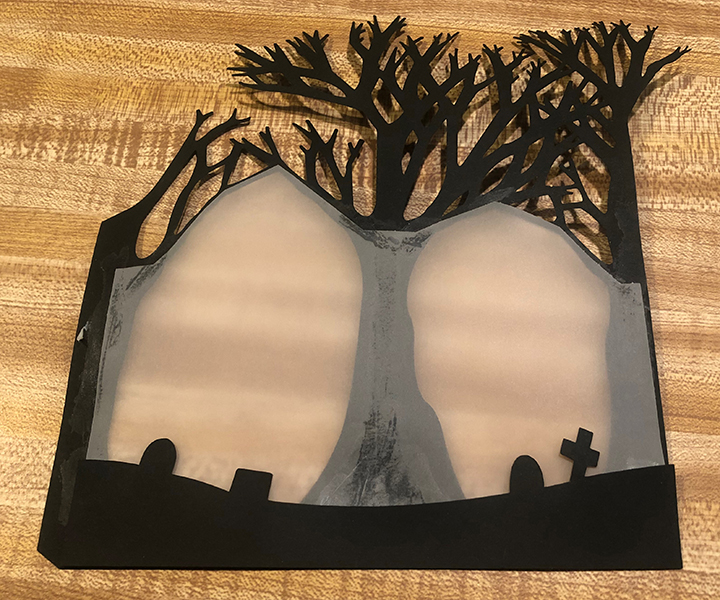
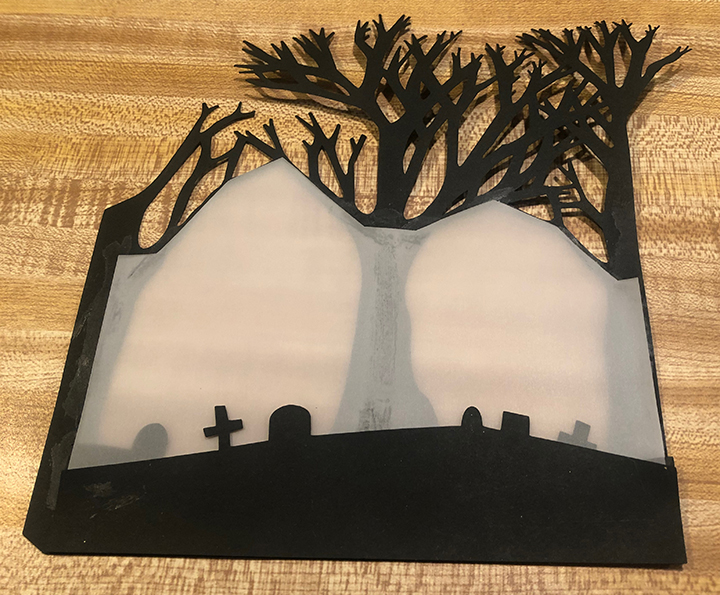
2. Cut the tree pattern twice. The vellum pattern twice (will make four shapes) and the graves pattern once (will make four shapes) as shown in the image below.
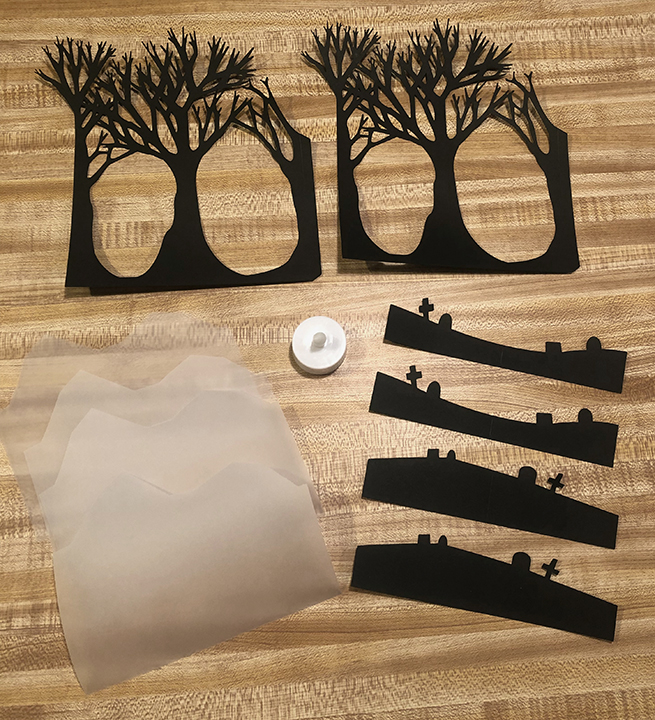
NOTE: Depending on the weight of the paper you used you may need to flatten the shapes out between the pages of a heavy book before proceeding to step 3. I left them in a book for 24 hours.
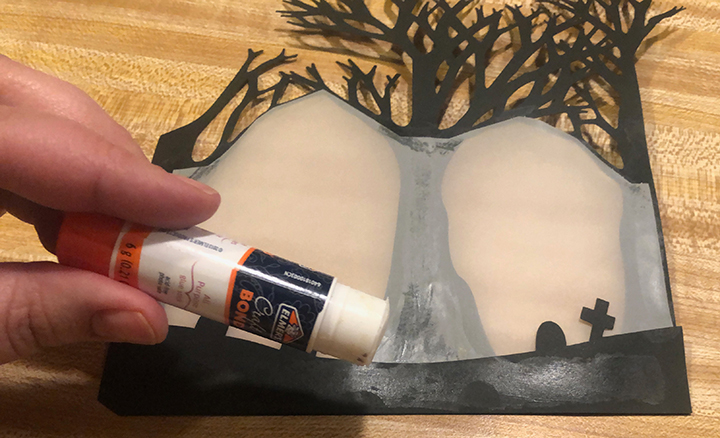
3. Add glue to the back of the street cut-out.

4. Connect the first layer of velum to the back of the trees.
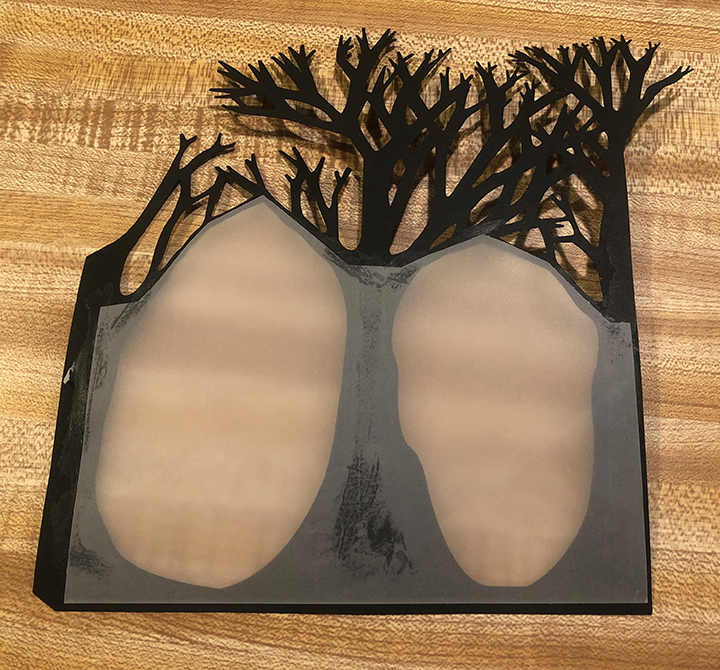
5. Add glue to the back of the vellum, keeping it hidden behind the trees, as shown.
6. Affix smaller grave pattern to the back of the first layer of vellum.
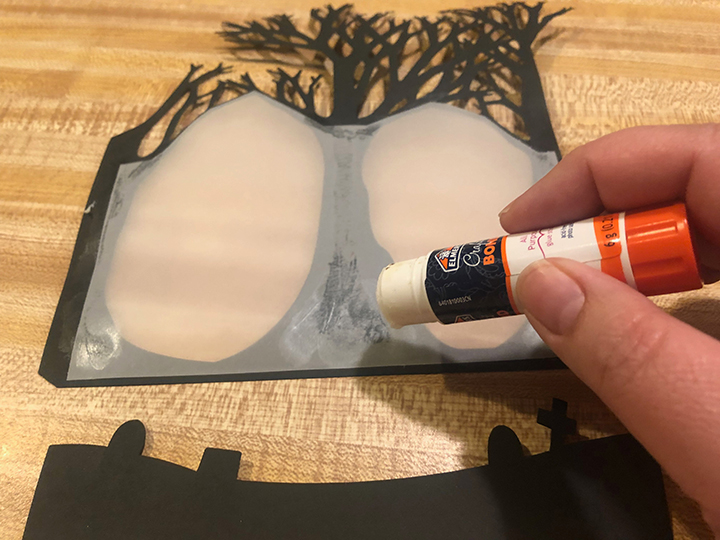
7. Add more glue to the back of the grave pattern plus the vellum, again keeping it behind the trees.
8. Secure the second layer of vellum.
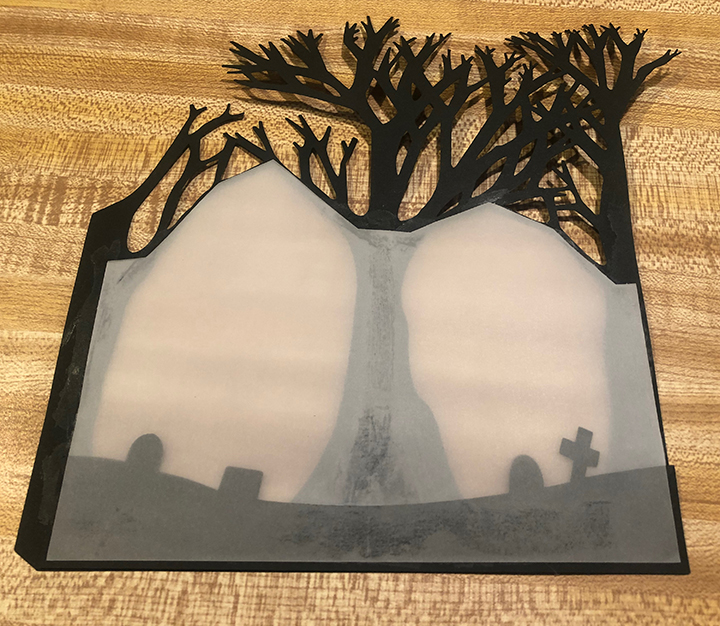
9. Add more glue to the back of the vellum behind the first grave pattern layer.
10. Adhere larger grave pattern to the back of the vellum.
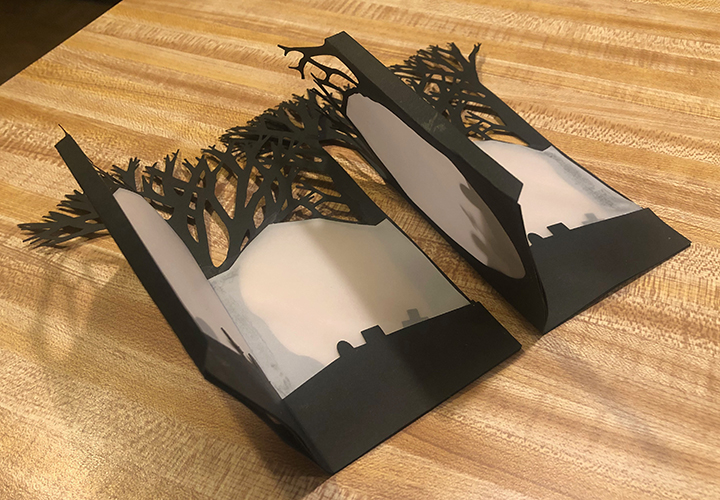
11. Repeat steps 3 – 10 again with the second set of cuts. The two sections will look like the image below.

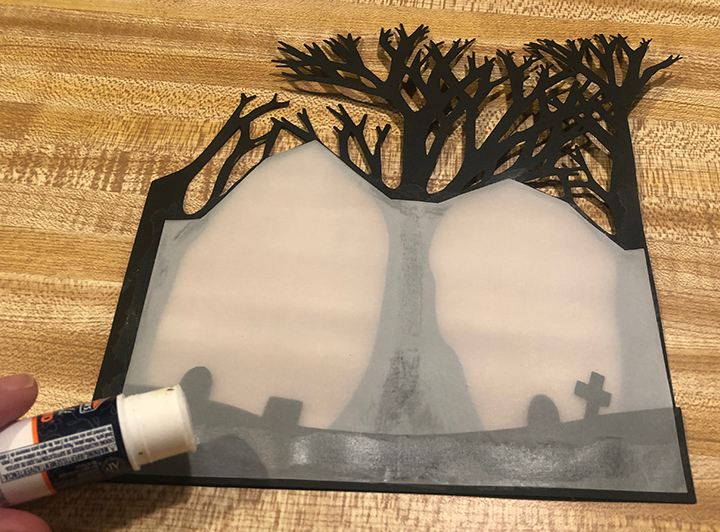
12. Fold along the fold lines.
13. Add glue to the edges of the flap you just folded.
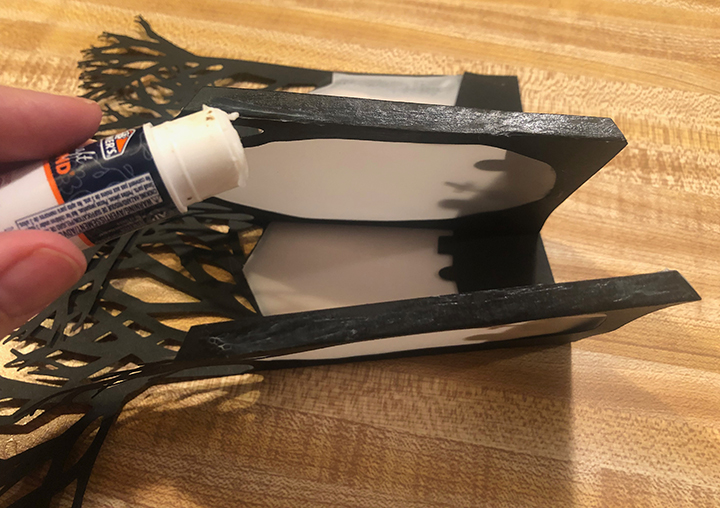
14. Combine the two sections together.
15. Join the other flaps to make a four sided structure.
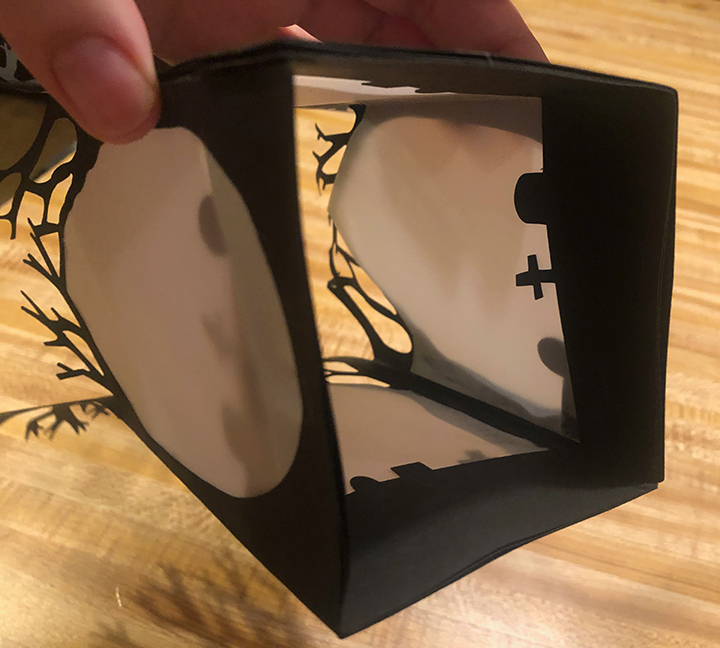
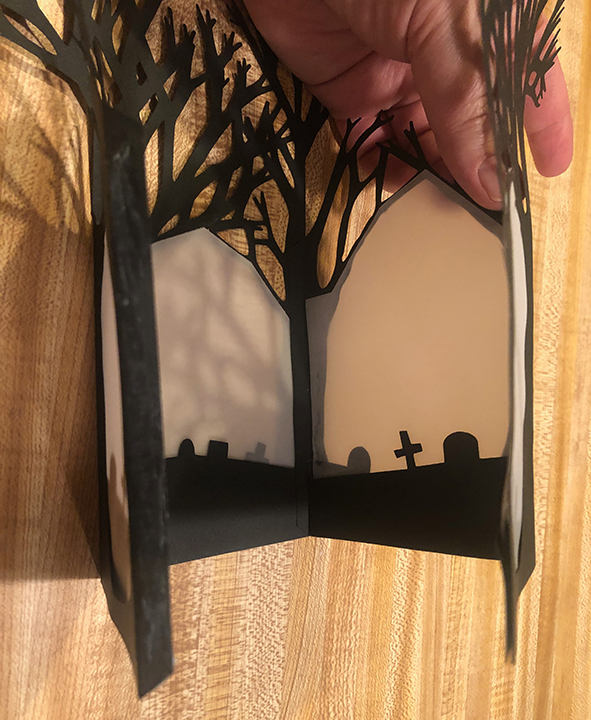
16. Your finished project should look something like this!
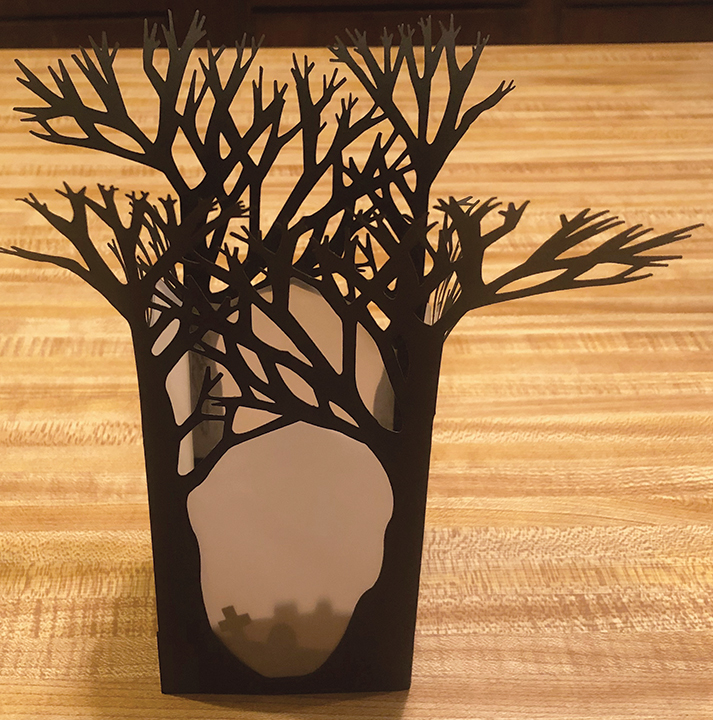
17. Add the tea light, turn off the lights and enjoy the spooky ambiance!
Wow, this looks great. I plan on doing it this afternoon. Thanks!
Cant wait to try this one.
I tried to download the PDF file for the tree luminary, but it keeps going to an error page. Is this no longer available? If it is, can you send me the direct download link please? Or email me the PDF file? Thank you so much for the other great files, I especially love the Cauldron.
I fixed the link so it should work for you now. If not please let me know!